
Let's see what had I done to my nails ^^
P/S: Do read till the last word of this post, so you will get your X'mas Surprise Gift!


Why Nail It with bloop?
1. No drying time
2. Super thin
3. Fast & easy to use
4. Made with environmental-friendly materials (Save our World, thumb up!)
5. Allows air to penetrate through to nails
6. Last 5-7 days
Manicure and pedicure seem rusting in my life coz the last time I did my manicure at nail saloon is like years ago. It is when my brother got married. The reasons why I seldom go for manicure and pedicure is because costly and takes hours to done 10 finger nails! Scary huh? I do love manicure because it makes my nails looks WOW and not naked (: Since HiShop and Bloop had chosen me to be one of the blogger to review this, why not I give it a good try and make it better nail art designs, right?
Let's get started!

Next, it will be the nail stickers ^^

Sorry for posting my ugly toes :p But the main concern is the nail polish color! Pinkish pinkish suits me?


Girlish nail stickers with tiny 3D diamonds ^^ Blink Blink

These nail stickers and nail file are the main characters of this blog.
Without them, my finger nails will go naked to work tomorrow ):
Firtsly, there's a piece of transparent protective layer so that my nail stickers will not get damaged. See, how thoughtful is bloop!

Before I start to peel of the nail stickers, I prefer to cut them one by one so that it is easy for me to peel off without touching on the others.


How to Nail It with bloop?
1. Make sure nails are clean before using nail it!. Use bloop nail polish remover for effective cleaning.
2. Choose the best strip size for each nail.
3. Remove the transparent protective layer.
4. Align and place the nail strip on the nail. (Note: the rounded ends should be facing the cuticle.)
5. Rub strip over the nail starting from the center working it out towards the sides.
6. Press the excess nail strip across the edges of the finger nail.
7. Using a nail file, file off the excess strip in a downward motion.
8. Rub striped nails again to move any excess bubbles.
9. For a longer lasting wear, apply a layer of bloop top coat nail polish.
*BEFORE*

I chose to put on some nail colors on my finger nails before putting the stickers onto my nails. So, it won't look so empty and I want colorful finger nails.

And for me, I didn't let the rounded end facing my cuticle coz I prefer the flower to be at the bottom. :x Sorry, bloop! for not following the instructions but do it still looks great on my finger nails?
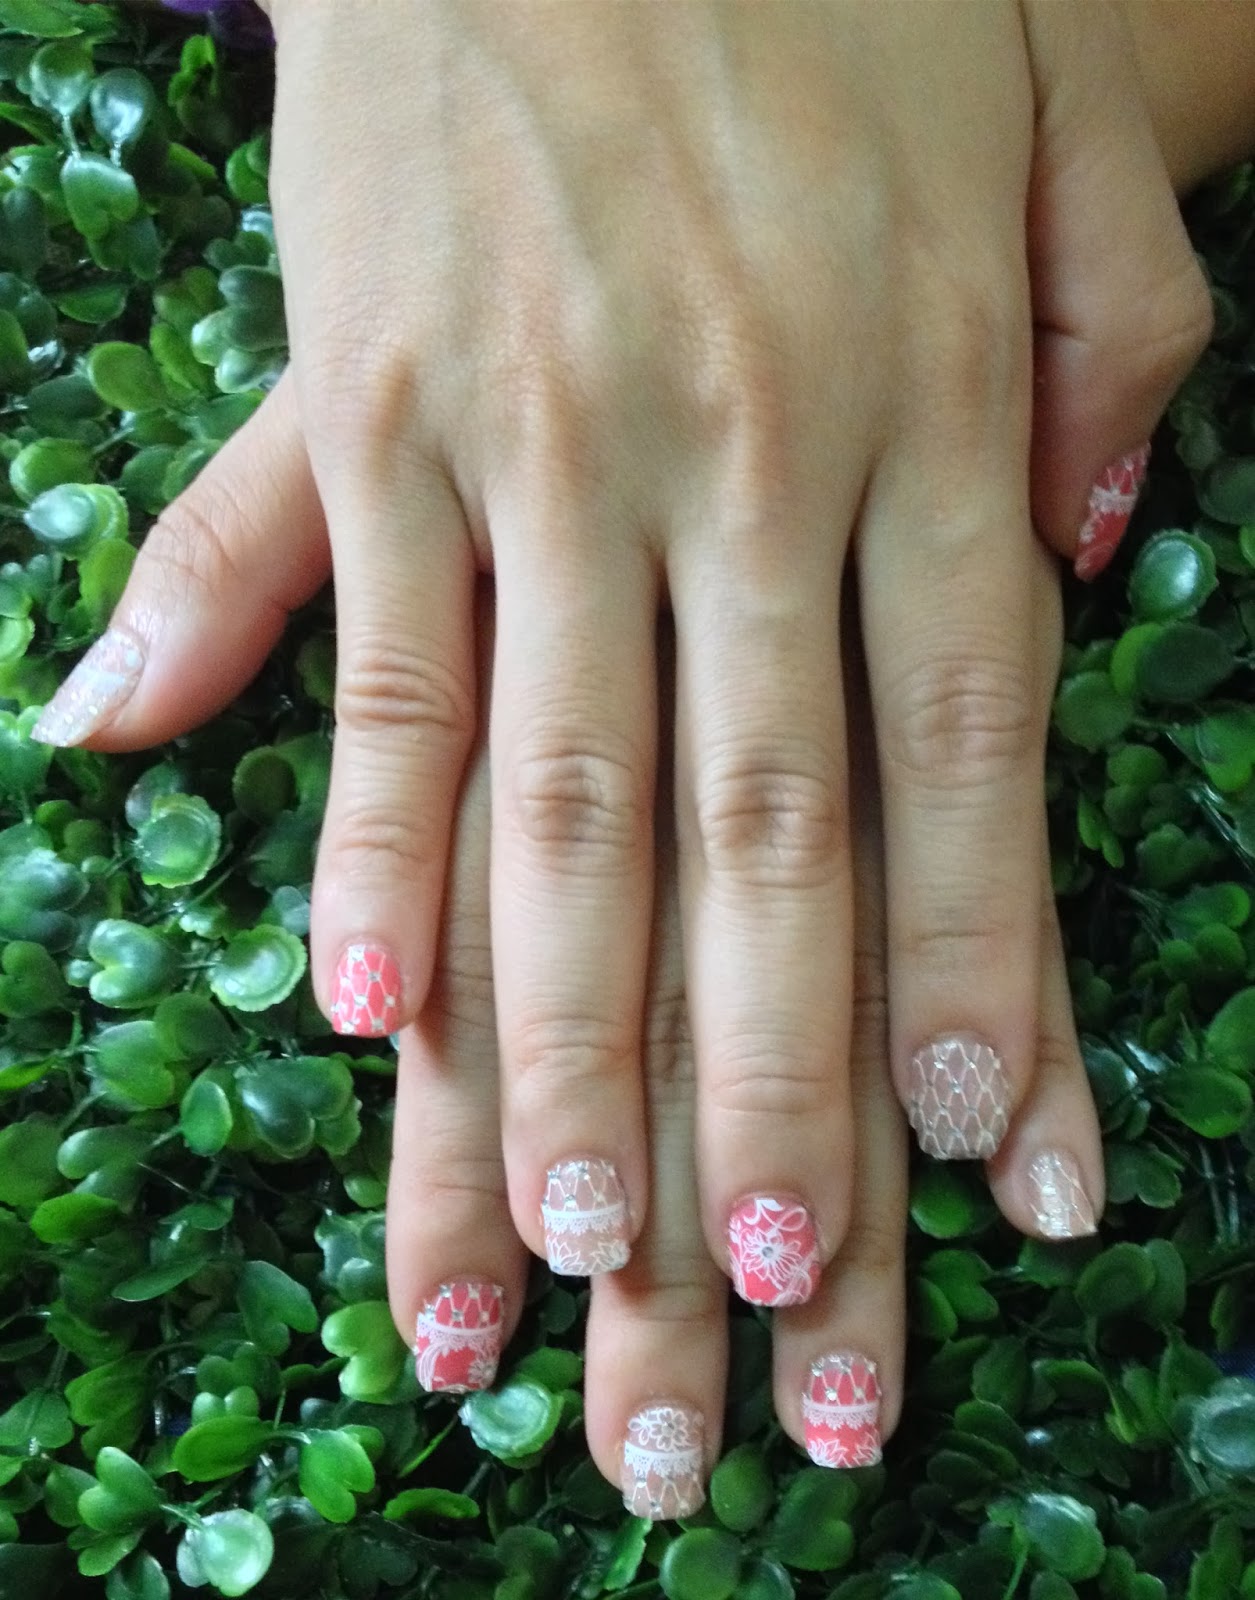
*AFTER*
See the results of my patience from removing the nail stickers and sticking them onto my finger nails. Tadaah! First done with my left hand finger nails. nice?


I know you will be super interested with this nail stickers after reading this post, don’t you?
So, hopefully this will be your X'mas gift from me, ok?
Here’s an exclusive RM20 rebate for my readers by using this code on HiShop: BLOOPNAILS
*With minimum purchase of RM99, valid till 31 January 2013*
No comments :
Post a Comment